
There has been some confusion related to upgrading the production scheduler components. I thought this would be a good blog topic to create and be able to show step by step.
All of these instructions are in the how-to-implement-production scheduler.pdf which is in the online help center. An recent copy is also attached to the knowledgebase KB ID 85906, How to Implement Production Scheduler Guide.
In this example we are going to upgrade the Production Scheduler components from V11P4/6.0.1705 to V11P5/6.0.1723.
As a note we can refer to this chart:
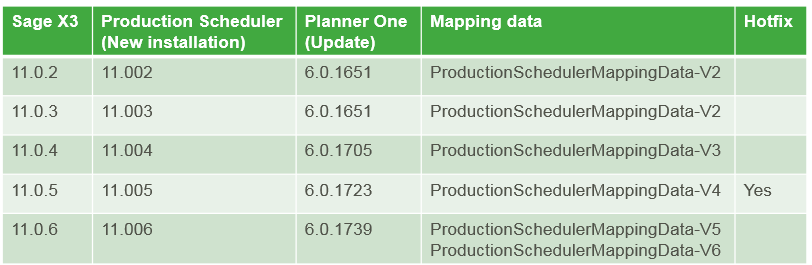
From the download portal for Sage X3 Version 11.0.5 there is a linked article to Download Sage X3 Production Scheduler 11.0.5. This article contains in the description:
- If this is a new installation of Production Scheduler 11.0.5, install the linked SafeX3ProductionScheduler-11.005.exe
- If you are needing to update the Production scheduler use Sage X3 PlannerOne 6.0.1723 and follow the instructions in the online help
For my example, I already have the Production Scheduler installed that corresponds to 11.0.4. (6.0.1705). Therefore I need the link to download Sage X3 PlannerOne 6.0.1723.
Note: This file will download and extract as a .zip file. This is on purpose and should remain as an extracted .zip file. You will need to know the location.
This update will need to be applied tenant by tenant (if you have multiple tenants.
Prerequisites:
- You must publish the work plan for each environment to have a reference copy of the data.
Note: Refer to the Production Scheduler help for more details on how to publish the work plan. - PlannerOne must be stopped.
To install the update:
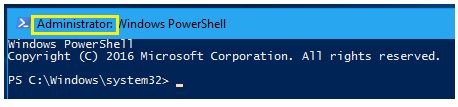
1. Open a new Windows PowerShell shell. This must be run as administrator (elevated permissions) and if you have a 64-bit operating system, use the 64-bit PowerShell.
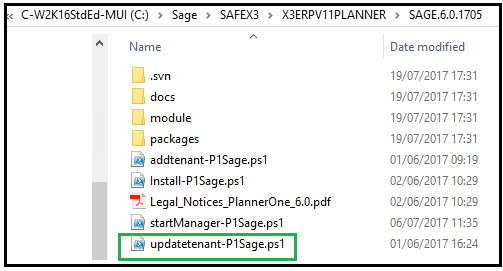
2. Place your cursor under the existing Production Scheduler installation folder. In my case this is C:\Sage\SAFEX3\X3ERPV11PLANNER\SAGE.6.0.1705.

Note: We would expect to find the updatetenant-P1Sage.ps1 here
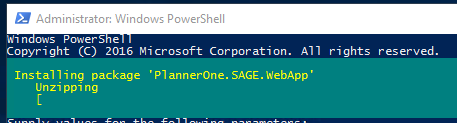
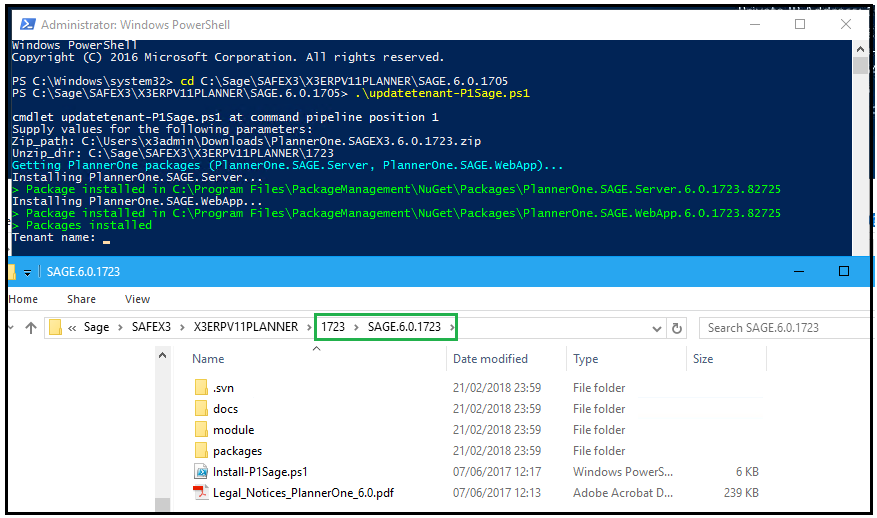
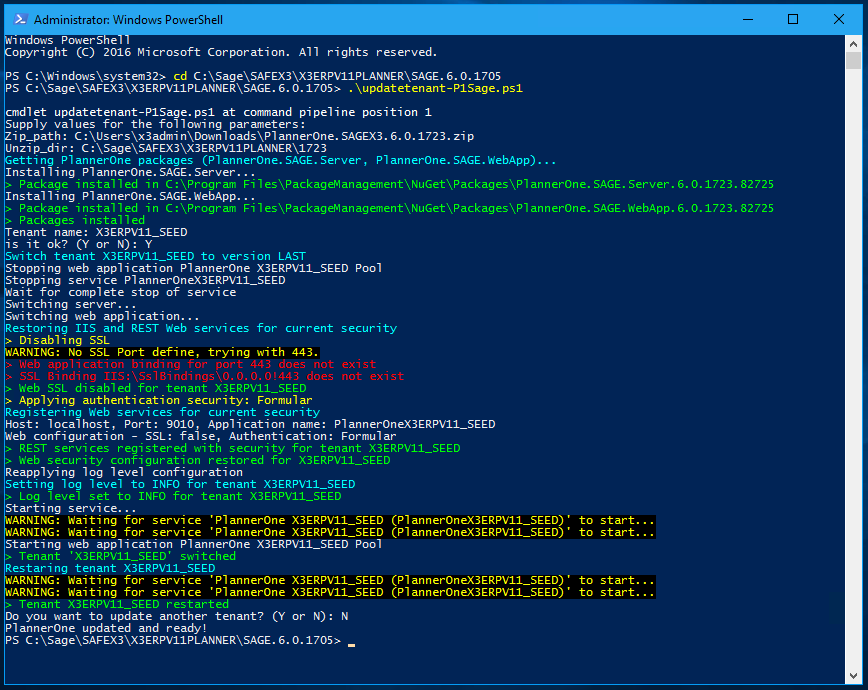
3. Enter the command: .\updatetenant-P1Sage.ps1
4. Enter the Zip_path which is the location of your .zip file
5. Create and enter a new directory where the new files will be uncompressed. I am simply going to use a folder named 1723 to represent my version number.
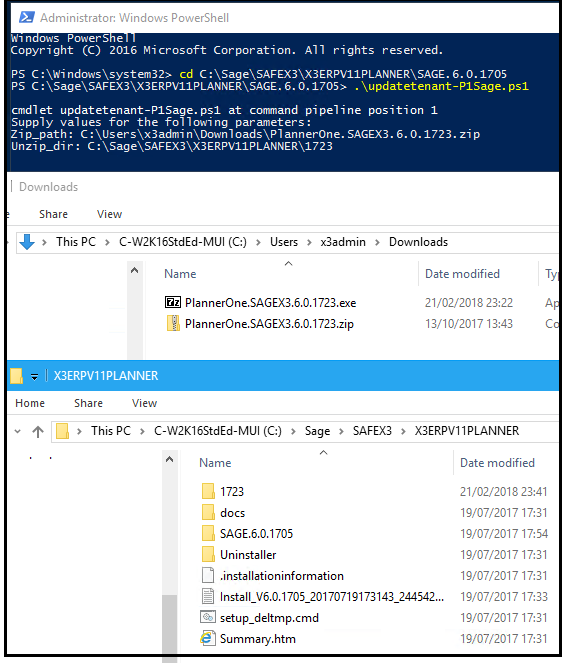
The process will create a directory within my 1723 folder and extract new files to this folder.
When complete you will be prompted for Tenant name to update
6. Enter the Tenant name
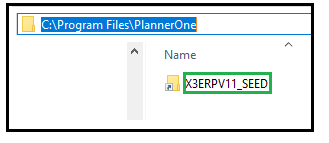
If you are unsure of the tenant name, you can find it in Sage X3, IIS, or in the PlannerOne path. By default this is C:\Program Files\PlannerOne
7. Type Y and press ENTER to confirm that you have entered the correct tenant
8. If you do not have another tenant to upgrade, type N and press ENTER. The upgrade of the PlannerOne components is complete.
Note: Since this is 11.0.5. From the Sage X3 side there is a hotfix that I would need to apply (KB ID 87567) to the child folder. This should not be part of the procedure in the future. The application patch will include the appropriate files and data mappings for the associated PlannerOne components. If not applied the results will be what is found in KB ID 88310.
