
SAML2 is method of using independent external authentication and it can be utilized with Enterprise Management. For SAML2, as well as OAuth2, the application grants access only when authenticated by a dedicated external server is successful.
This is an example of SAML2 use with Microsoft Azure. We cannot provide examples for use with every identity provider and you likely need to extrapolate information from your own configuration to make proper use of authentication.
Please make sure that you review the SAML2 online help topic and work closely with your Sage Certified Business Partner for configuration related to your environment
Note: To configure single sign-on for applications, you must be using Azure Active Directory Premium.
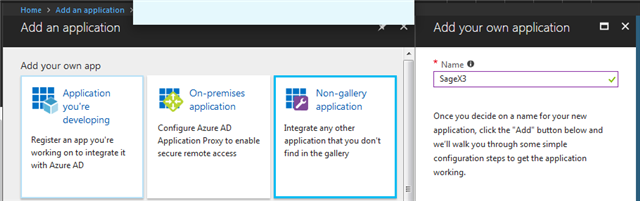
1. You must first add the non-gallery application to the Azure portal:
From the linked Microsoft document: To connect an application using an app integration template, sign in to the Azure portal using your Azure Active Directory administrator account. Browse to the Active Directory > Enterprise Applications > New application > Non-gallery application section, select Add, and then Add an application from the gallery.
2. Select Configure single sign-on (required)

3. Select SAML-based Sign-on for the Single Sign-on Mode

Note: There are useful help topics within the portal to help you move forward.
We are going to look at the Sage Enterprise Management configuration for a moment:
4. You will need to change the nodelocal.js to allow SAML2 authentication.
Note: You will need to restart the Syracuse service after this change has been implemented

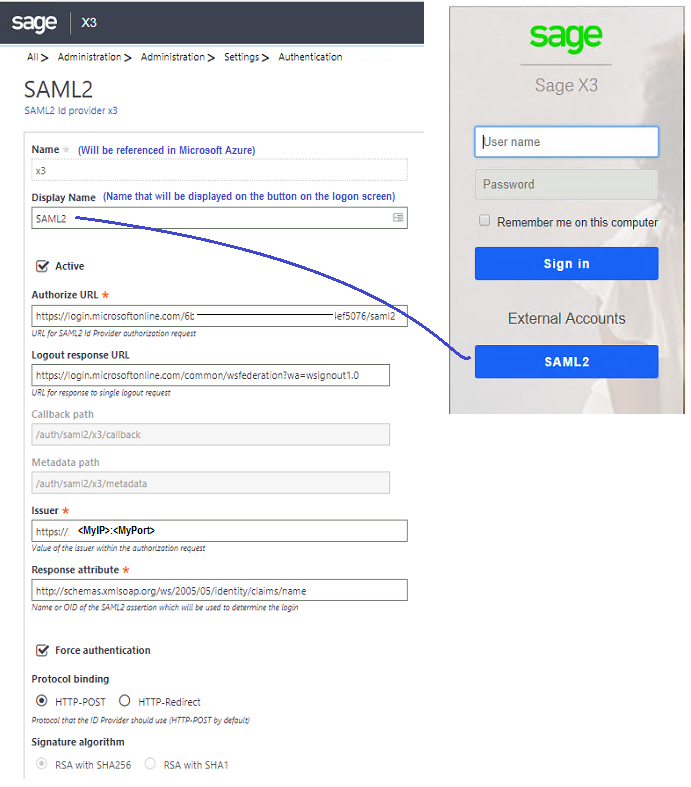
5. In Sage X3, open Administration, Administration, Settings, Authentication, SAML2 Id provider.
6. Click Create saml2 
7. The configuration will look similar to below:
Note: I am not showing the use of a certificate, but it can be made to do so.
8. We can take a bit of a shortcut here by downloading the metadata to upload into the Microsoft Azure portal.
a. On the right, click the Detail button if available
b. Click on the Get metadata button 
Result: This will download a file called metadata
We are heading back to the Microsoft Azure portal.
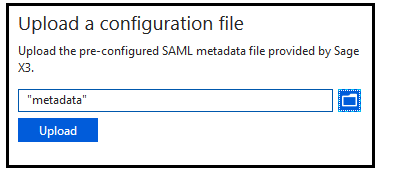
9. Click on the link to Upload metadata file. Note: This is in section 2 with the domain and URLs.
10. Upload the metadata configuration file. Note: You will need to change the drop-down selection to All files from *.xml.
11. The rest of the Single sign-on configuration will look like something similar to:

NOTE: The "Identifier (Entity ID)" field in Azure correlates to the "Issuer" within Sage X3 setup
12. Configuration of SAML2 is complete, however; you will also need to make sure that:
- In Enterprise Management (Administration, Administration, Users, Users) your users are set up to authenticate with SAML2 and with the configured provider.
- In Microsoft Azure, the application will also need users and groups assigned with the proper roles.
13. Upon clicking on the external application link from the Sage Enterprise Management login screen you are redirected to authenticate through Microsoft.
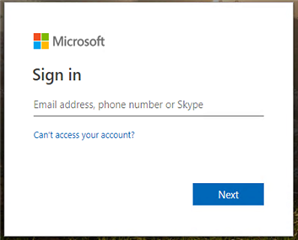
Once authenticated, you will be granted access to Enterprise Management and redirected to the landing page.
Known issues that have been resolved to consider.
- There was a known issue where the metadata was not creating the correct Reply URL. It was using http instead of https. This has been resolved with the latest release of the Syracuse component
- There was a known issue with the SAML2 redirect. This caused an error message for a user to click through if they cleared the browser cache. This is resolved as of Syracuse 11.10.
Top Comments